Introduction
Modern gasoline engine vehicles rely heavily on emission‑control components to balance engine power, fuel economy and environmental compliance. Among these critical parts, the oxygen sensor (also called O2 sensor or lambda probe) stands out as one of the most influential yet frequently misunderstood exhaust sensors.
Mounted inside the exhaust manifold or exhaust pipe, the oxygen sensor continuously measures leftover oxygen content in exhaust gas after combustion. It sends real‑time voltage feedback signals to the Engine Control Module (ECM / ECU). Based on this data, the ECU fine‑tunes fuel injection volume to keep the air‑fuel mixture near the ideal stoichiometric ratio (lambda λ=1) for clean combustion.
Without a properly working oxygen sensor, your vehicle may suffer poor gas mileage, rough idle, catalytic converter damage, illuminated check‑engine light and failed state emissions inspection. This comprehensive guide breaks down oxygen sensor core knowledge, typical faults, diagnostic logic and practical buying guidance for vehicle owners and DIY mechanics.
What Is an Oxygen Sensor & How Does It Work
An oxygen sensor is an electrochemical sensor built around ceramic sensing elements with an internal heating circuit. Most modern units are heated‑type O2 sensors, allowing them to reach optimal working temperature quickly after cold startup and enter closed‑loop control mode within seconds.
Two core operating modes define sensor behavior:
- Open‑loop mode: Occurs on cold start. The sensor has not reached working temperature. ECU follows pre‑programmed fuel maps without feedback from O2 sensor readings.
- Closed‑loop mode: Once heated up, the sensor generates fluctuating millivolt signals. The ECU uses these signals to dynamically adjust fuel delivery.
- Rich mixture (too much fuel, low oxygen): sensor outputs higher voltage (~800‑900 mV)
- Lean mixture (too much air, excess oxygen): sensor outputs lower voltage (~100‑200 mV)
Upstream vs Downstream Oxygen Sensors
Nearly all OBD‑II compliant cars built after 1996 carry multiple oxygen sensors, divided into upstream and downstream positions.
- Upstream (Bank 1 Sensor 1 / Bank 2 Sensor 1): Installed before catalytic converter. Main job: monitor exhaust gas directly from engine cylinders for air‑fuel ratio adjustment. This sensor has the biggest impact on fuel consumption and engine smoothness.
- Downstream (Bank 1 Sensor 2 / Bank 2 Sensor 2): Installed after catalytic converter. Main job: verify catalytic converter efficiency. It does not directly adjust fuel injection, yet abnormal downstream readings will trigger check‑engine light and catalyst‑related fault codes.
Important note: Do not swap upstream and downstream sensors. While physical connectors may look similar, their internal response characteristics differ, and mis‑installation will trigger persistent error codes.
Common Symptoms of a Bad or Failing Oxygen Sensor
Faulty O2 sensors will not always fail completely. Slow response, drifting signal and partial contamination happen far more often than total dead sensors. Watch for these typical warning signs:
- Check‑Engine Light Illuminates: The most common indicator. OBD‑II scanner will pull oxygen‑sensor‑related trouble codes.
- Dropped Fuel Economy: ECU receives incorrect sensor data and over‑feeds fuel, raising gas consumption noticeably.
- Rough Idle, Hesitation or Engine Misfire: Unstable air‑fuel control leads to shaky idle, stumble during acceleration.
- Failed Emissions Test: High HC, CO or NOx readings due to inaccurate combustion regulation.
- Rotten‑egg‑like exhaust smell: Caused by incomplete combustion and sulfur by‑products.
Critical reminder: These symptoms overlap with ignition coil, spark plug, fuel injector and catalytic converter faults. Always run OBD‑II diagnosis before replacing parts blindly.
Main OBD‑II Trouble Codes Related to Oxygen Sensors
These are frequently‑seen codes linked to O2 sensor issues:
- P0130 / P0150: O2 sensor circuit malfunction
- P0131 / P0151: Low voltage signal
- P0132 / P0152: High voltage signal
- P0133 / P0153: Slow response (sensor aging / contamination)
- P0134 / P0154: No sensor activity detected
- P0135 / P0141 / P0155 / P0161: O2 sensor heater circuit failure
Keep in mind: fault codes point to circuit abnormalities, but they do not 100 % guarantee the sensor itself is broken. Exhaust leaks, damaged wiring harness, corroded connectors can throw identical codes. Inspect wiring and exhaust seals before installing new sensors.
Root Causes for Oxygen Sensor Premature Failure
Oxygen sensors work under extreme thermal stress inside exhaust flow. Normal service life ranges roughly 60 000‑100 000 miles, yet many units fail early from contamination or secondary engine troubles.
- Chemical Poisoning: Oil residue, engine coolant (blown head gasket), silicone‑based sealants, certain fuel additives coat the ceramic sensing tip and block sensor reaction. Silicone poisoning leaves white deposits; oil‑related poisoning leaves black sooty buildup.
- Heat Damage & Thermal Shock: Engine misfire dumps unburned fuel into exhaust, generating extreme heat and burning out sensor heater elements.
- Wiring and Connector Damage: Road debris, high‑heat aging, water corrosion damage cables and pins.
- Exhaust Leaks: Air sucked into exhaust near sensor distorts oxygen readings and accelerates component wear.
Best practice: If your old sensor failed due to coolant leakage or oil burn‑off, fix the underlying engine problem. Simply swapping a new sensor will lead to repeated early failure.
Oxygen Sensor Replacement: DIY Guidance
When you should replace
- Persistent O2 sensor codes confirmed after wiring and exhaust inspection
- Clear performance symptoms matching faulty O2 sensor
- High‑mileage scheduled maintenance (follow vehicle service manual recommendation)
Direct‑fit vs Universal‑style O2 sensors
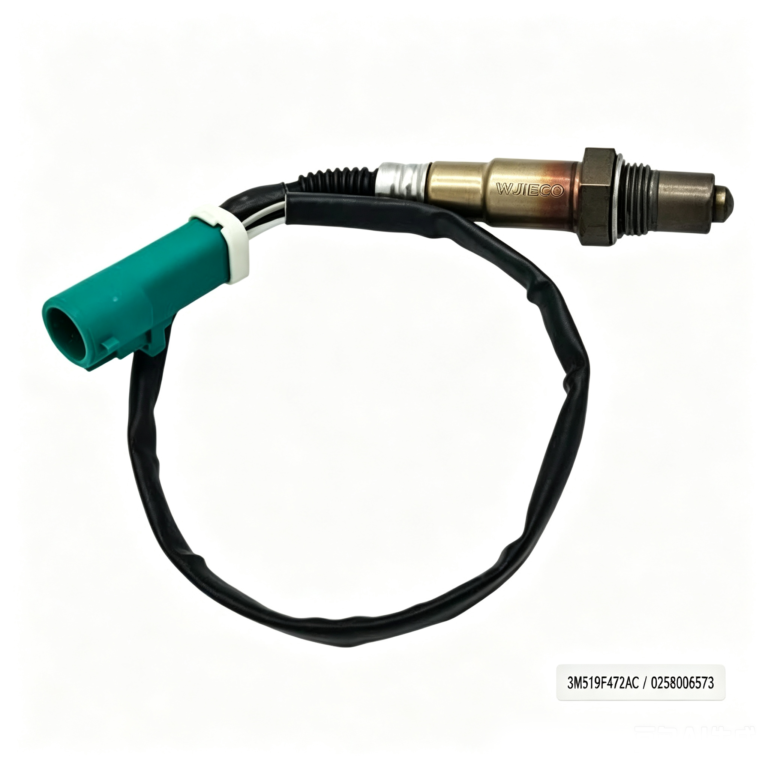
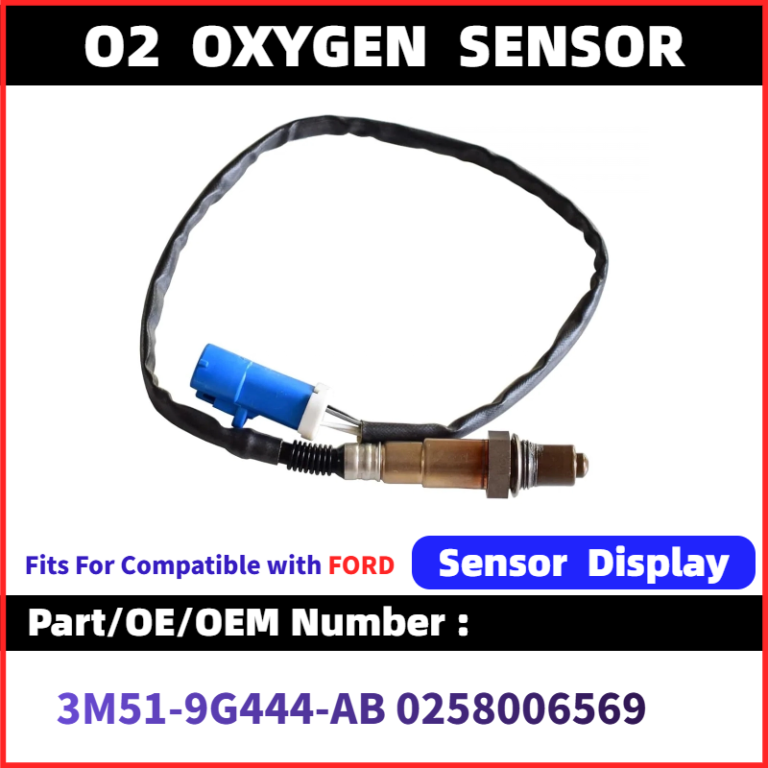
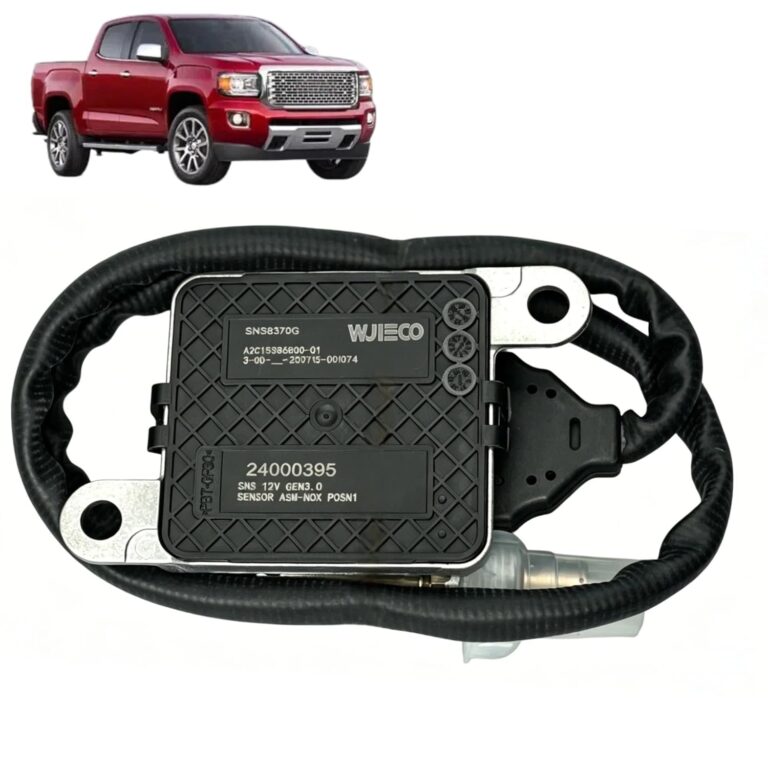
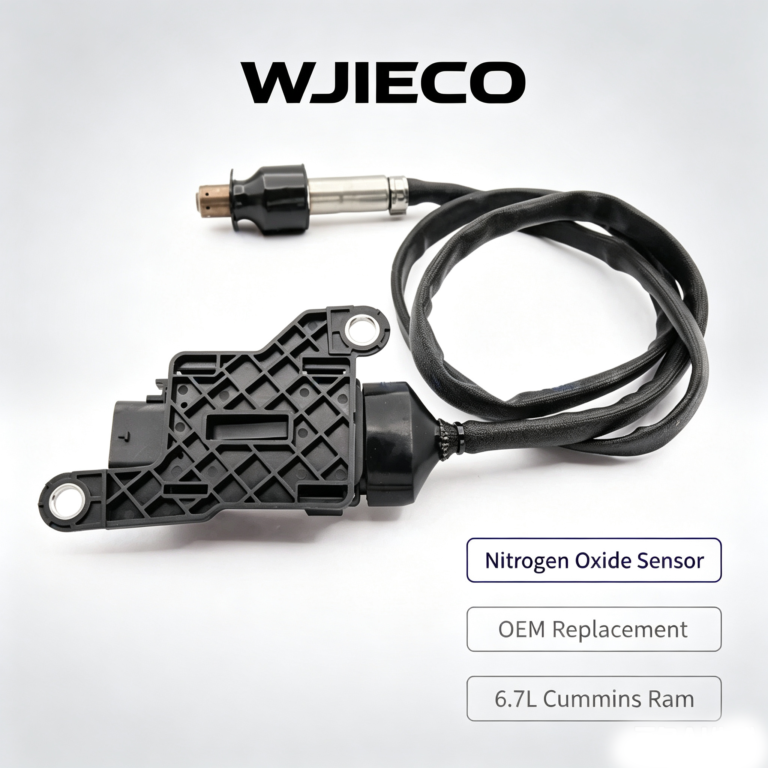
- Direct‑fit sensors: Pre‑assembled factory‑matching connector and correct wire length, plug‑and‑play. Recommended for most DIY repairs, lower risk of installation mistakes. Brands such as WJIECO offer wide‑coverage direct‑fit replacement oxygen sensors matching OEM specifications for most domestic and import vehicles, eliminating the need for splicing wires.
- Universal sensors: Require wire cutting and manual connector splicing. Cheaper but more labor‑intensive; improper splicing creates new circuit faults.
Quick installation tips
- Let exhaust system cool down fully to avoid burns.
- Use proper oxygen‑sensor socket tool; do not round off the hex nut.
- Apply anti‑seize compound formulated for oxygen‑sensor threads. Avoid ordinary silicone sealants that poison sensing elements.
- Torque to manufacturer‑suggested value; over‑torque can crack sensor housing or exhaust threads.
- After installation, clear DTC codes with scan tool and perform road test to verify closed‑loop operation returns to normal.
How to Choose Quality Aftermarket Oxygen Sensors
Low‑cost inferior O2 sensors have slow response time, unstable signal output, and often fail within a few thousand miles. Poor‑quality sensors may even destroy expensive catalytic converters. Use these criteria while shopping:
- Confirm upstream / downstream position, OEM part number, pin count and wire length for your exact vehicle year, make and model. Cross‑reference compatibility carefully.
- Prefer direct‑fit plug‑and‑play units over universal spliced sensors for reliable results.
- Verify high‑temperature resistance, anti‑poisoning ceramic element and robust built‑in heating circuit.
- Select reputable aftermarket suppliers. WJIECO oxygen sensors are engineered to match OE performance standards, covering a broad range of North‑American, Asian and European vehicle platforms. Each unit undergoes strict quality testing for signal stability, heater performance and durability in harsh exhaust conditions, giving DIYers and repair shops a cost‑effective alternative to OEM parts.
Buying tip: Double‑check bank/sensor position. Installing downstream sensor in upstream location will not resolve your driveability issues.
Frequently Asked Questions (FAQ)
Q: Can I keep driving with a bad oxygen sensor?
A: You can drive short‑term, but it is not recommended. A failing sensor increases fuel consumption, raises toxic emissions, and risks permanent, costly damage to your catalytic converter over time.
Q: Why does check‑engine light return right after I install a new oxygen sensor?
A: Common reasons: wrong sensor position, damaged wiring harness, undetected exhaust leak, existing engine mechanical fault, or incompatible sensor spec. Do not immediately blame the new sensor; complete full system diagnosis.
Q: Will cleaning a dirty oxygen sensor fix it?
A: No. Contamination damages the special ceramic sensing layer. Cleaning cannot restore proper response; replacement is the only valid solution.
Q: Do I need to replace all oxygen sensors at once?
A: Not mandatory. If only one sensor shows confirmed fault, replace that one. For high‑mileage vehicles with multiple aged sensors, replacing all together reduces future repeat labor cost.
Final Summary
The oxygen sensor is a small but decisive component linking engine combustion, fuel economy and emission compliance. Recognizing early warning signs, understanding upstream‑downstream differences, and completing proper diagnosis before part replacement saves you wasted expense and secondary component damage. Whether you are a DIY car owner or repair technician, choosing well‑built direct‑fit replacement oxygen sensors such as WJIECO helps restore your vehicle back to factory‑level performance and emission control.